Setting up a merch desk is a powerful way to showcase your music and build your brand during live shows. It’s not just about selling – it’s about creating a memorable experience for fans. Here are some practical tips to keep things running like clockwork and make your setup stand out.
BE PREPARED: Checklists and Spreadsheets
– Create a Check List
Before heading out, make a comprehensive checklist to ensure you’ve got everything you need; including signage, extra lighting (such as a small lamp) and an extension cord, coat hangers, pens for autographs, extra gig posters, cash box and float, EFTPOS machine etc. Print this list, or save it on your phone.
– Track Your Sales: Use a Spreadsheet
Set up a spreadsheet listing all items for sale along with their prices. This will help you to keep track of your inventory while monitoring sales made throughout the gig. Upload it to Google Drive or a similar cloud service so you can update it on your phone or tablet. It’s also worth bringing a printed copy in case tech fails you.
– Handle Sell-Outs: Take Orders On Site
Prepare a second spreadsheet to record customer orders for merch, should you run out of stock. Again, bring a printed version with you.
– Promote Clearly: Item & Price Lists
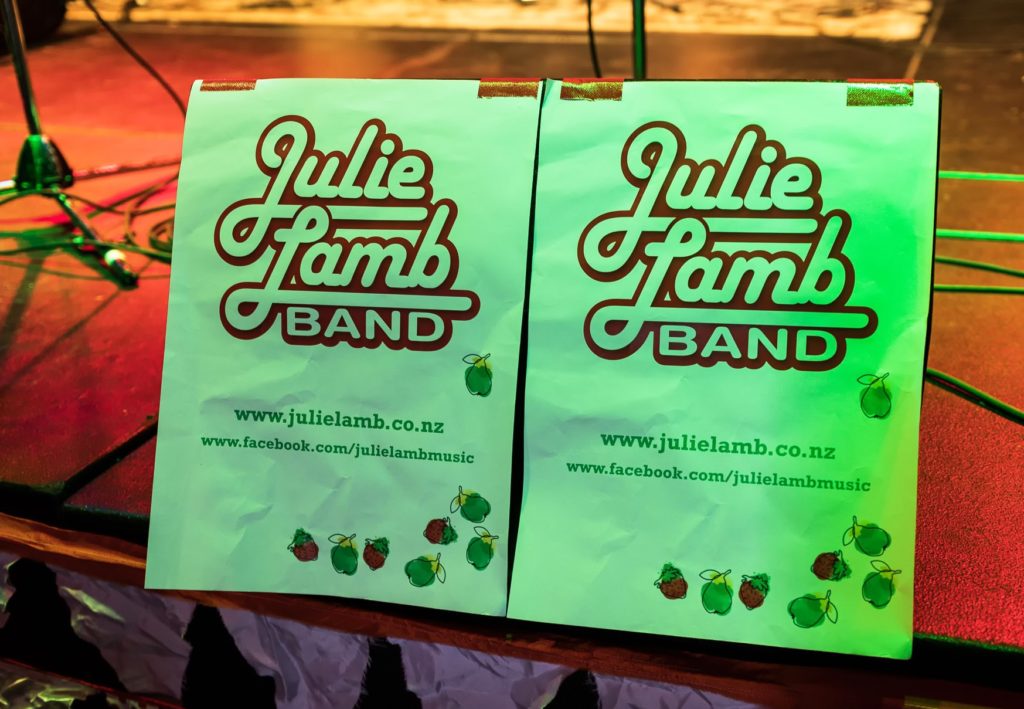
Print several copies of a clear, easy-to-read list of all merch items and their prices. Display these around your merch desk so fans can browse without needing to ask.
– Discuss pricing with your team.
Before the gig, have a quick meeting with your bandmates and anyone helping at the merch desk. Confirm pricing and any bundle deals to avoid confusion or last-minute changes.
MAKE YOUR MERCH DESK STAND OUT
– Keep It Tidy & Visually Appealing
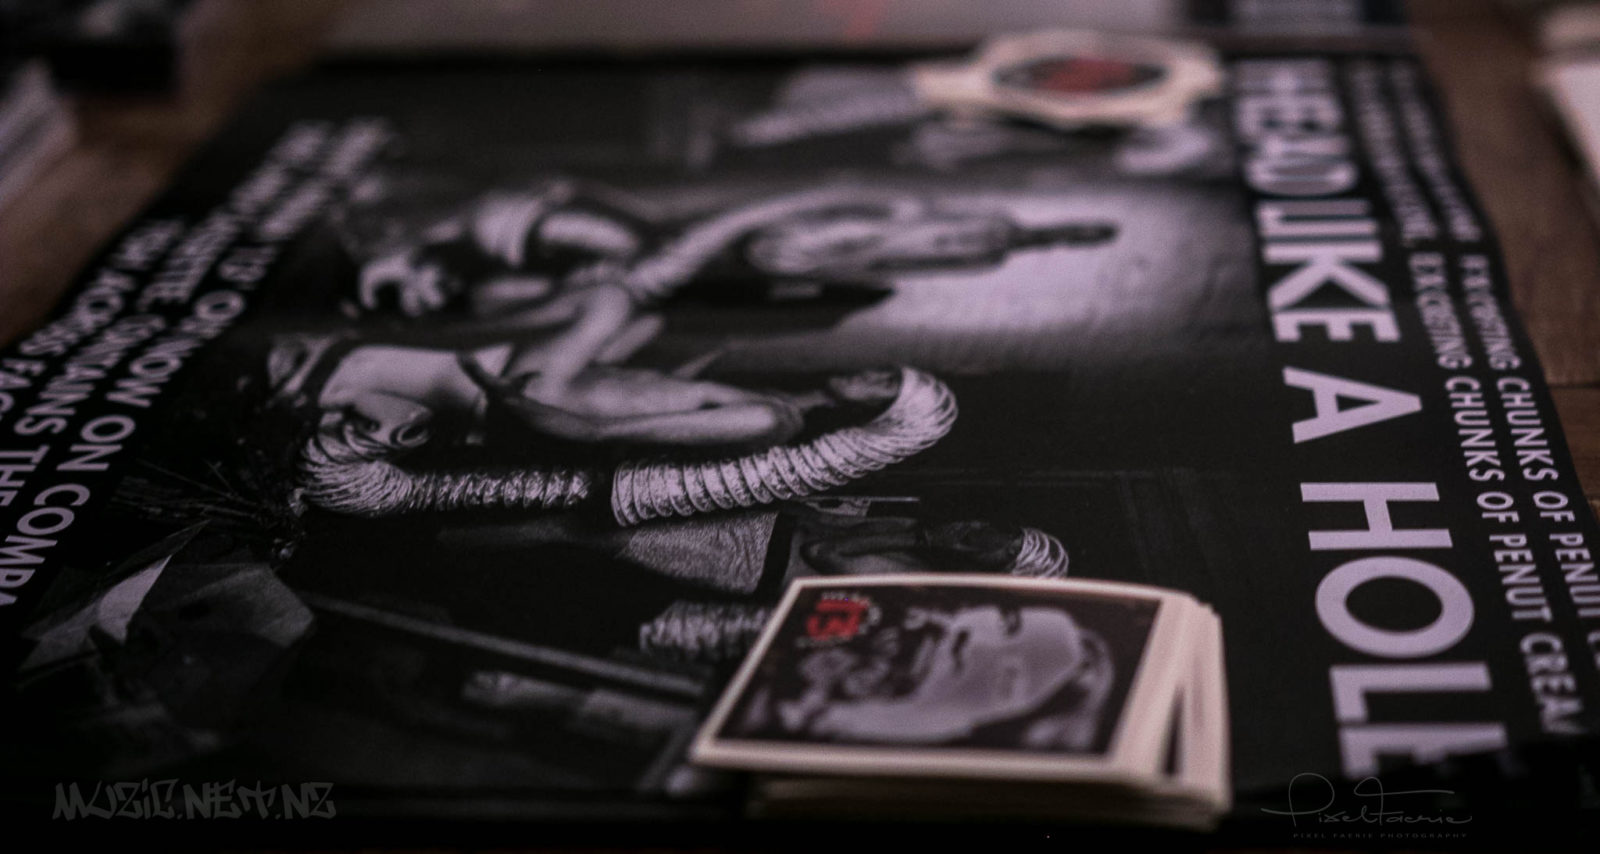
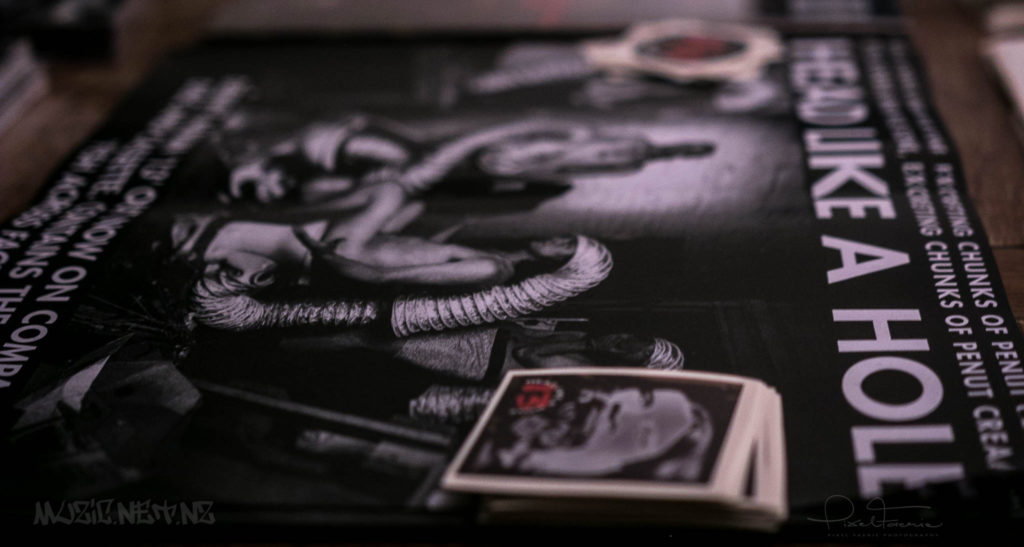
A well-organised merch desk makes a strong first impression. Group similar items – such as clothing, CDs, and accessories – so fans can easily browse. Add visual flair with gig posters, band-themed decorations, or even a small banner to draw attention and reflect your vibe.
– Choose Your Spot Wisely
If you have flexibility with placement, aim for a well-lit area that won’t clash with busy zones like the bar or food stalls. Near the entrance is ideal – it ensures your merch desk is the first thing people see when they arrive and the last thing they pass on their way out.
– Offer a Range of Items
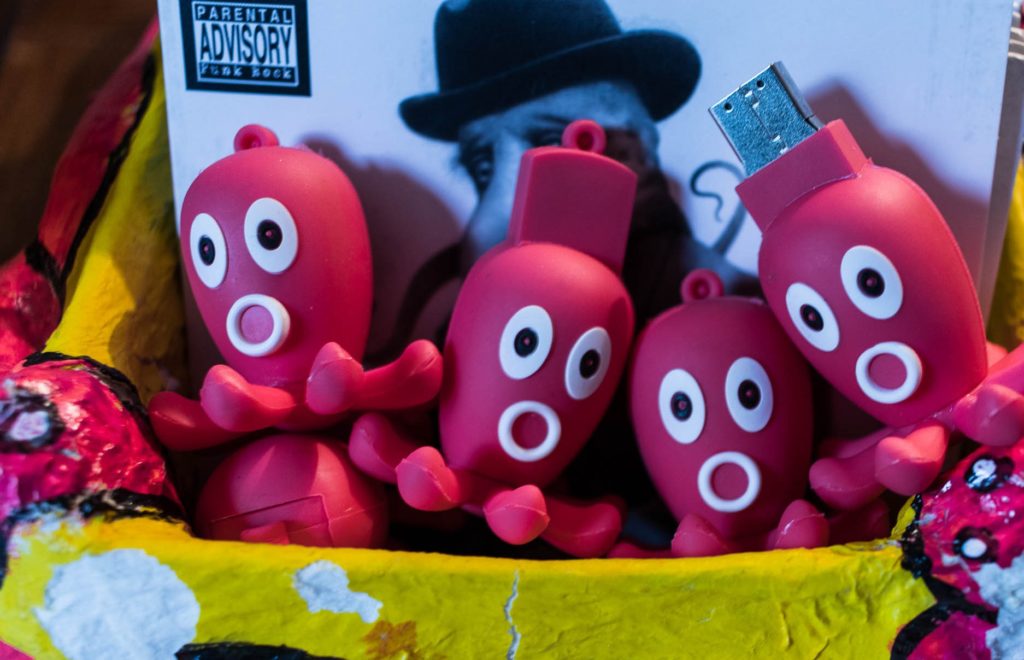
Diversify your merch with affordable keepsakes like badges, pens, stickers, or postcards. These low-cost items are perfect impulse buys and help fans take home a piece of the night. High-priced items may not fly off the table, but they make mid-range options look more budget-friendly by comparison.
– Give Something Away
Freebies are a great way to attract attention. Consider handing out stickers with your band’s website and social handles – they’re promotional gold. If you’re light on physical giveaways, offer something personal like signed posters or autographs. It’s a simple gesture that can leave a lasting impression.
SIGNAGE
Having clear, accurate signage is essential for a smooth-running merch desk. It helps eliminate confusion, prevents pricing disputes, and makes it easy for fans to see what’s available at a glance. Well-designed signs not only inform – they also reinforce your brand’s professionalism and vibe.
– Plan Ahead
Design and print all your signage well before the gig. Last-minute scrambling can lead to sloppy presentation – and your merch deserves better.
– Label Everything Clearly
Create individual signs for each item you’re selling. For apparel with designs on both sides (like tees or hoodies), make separate ‘front’ and ‘back’ signs to attach to display pieces so fans can see exactly what they’re getting.
– Make It Pop
Go big, bold, and beautiful. Large black text on a white background is the easiest to read, but don’t shy away from adding a splash of colour or your band’s logo to reinforce your branding.
– Durability Matters
Laminate your signs if you can – they’ll hold up better under gig conditions and can be reused for future shows.
– Hang with Ease
If you’re planning to hang signs, punch holes in advance so setup is quick and hassle-free.
OTHER NOTES
– If someone else is running your merch desk, be crystal clear about pricing, discounts, and any special instructions. A quick briefing before the show can prevent confusion and ensure everything runs smoothly.
– Review your prices a couple of times a year to stay competitive and reflect changes in costs. Be mindful of regional differences – what sells for $20 in one city might need adjusting in another.
– Never leave your merch desk unattended. Ask a reliable friend or crew member to manage it while you’re performing so fans can browse and buy without delay.
– A quick shout-out during your set can make a big difference. Mention what’s available and where to find it – your fans are already engaged, so it’s the perfect time to spark interest.
– If you have a mailing list, consider having an iPad or sign-up sheet available to allow people to sign up to your mailing list. Mailing lists can be a great way to stay connected with fans and promote future releases, tours, or exclusive offers
– Introduce a new item for each major tour – whether it’s a limited edition tee, a custom poster, or a quirky accessory. It gives fans something unique to remember the experience by.
– Everyone loves a discount, so consider making bundle offers such as ‘buy 1 CD for $15, or 2 CDs for $25’, or ‘buy 2 t-shirts and get a free CD’ etc. These sorts of deals not only boost sales but also encourage fans to grab more than one item.